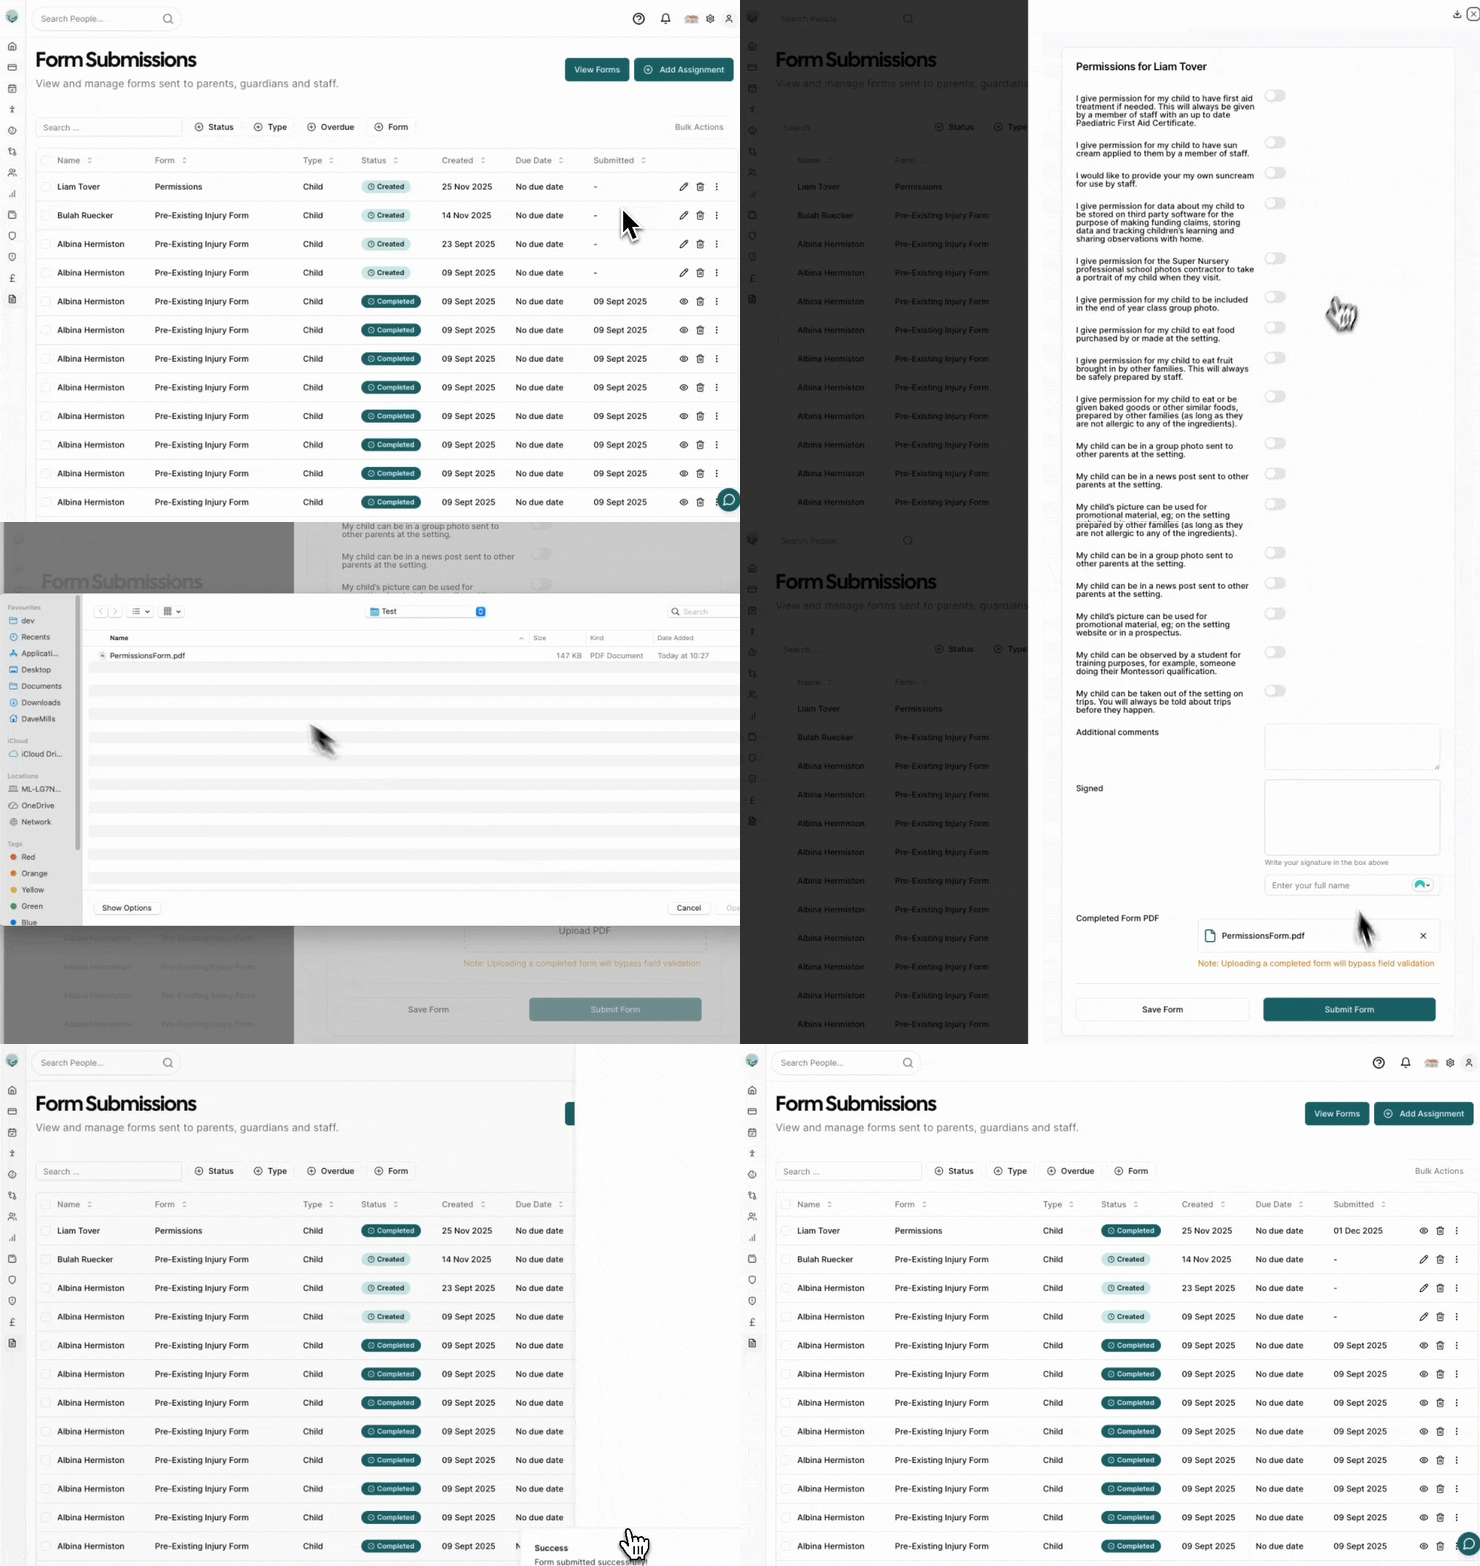
Managing Form Submissions
The Form Submissions page is your central hub for managing all form assignments and submissions.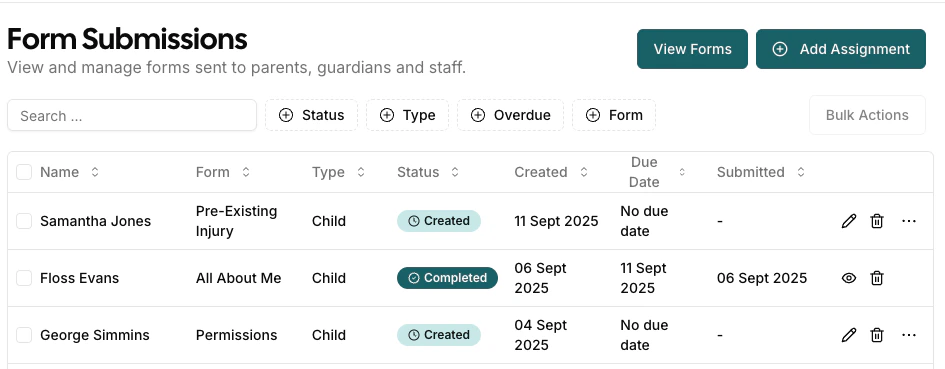
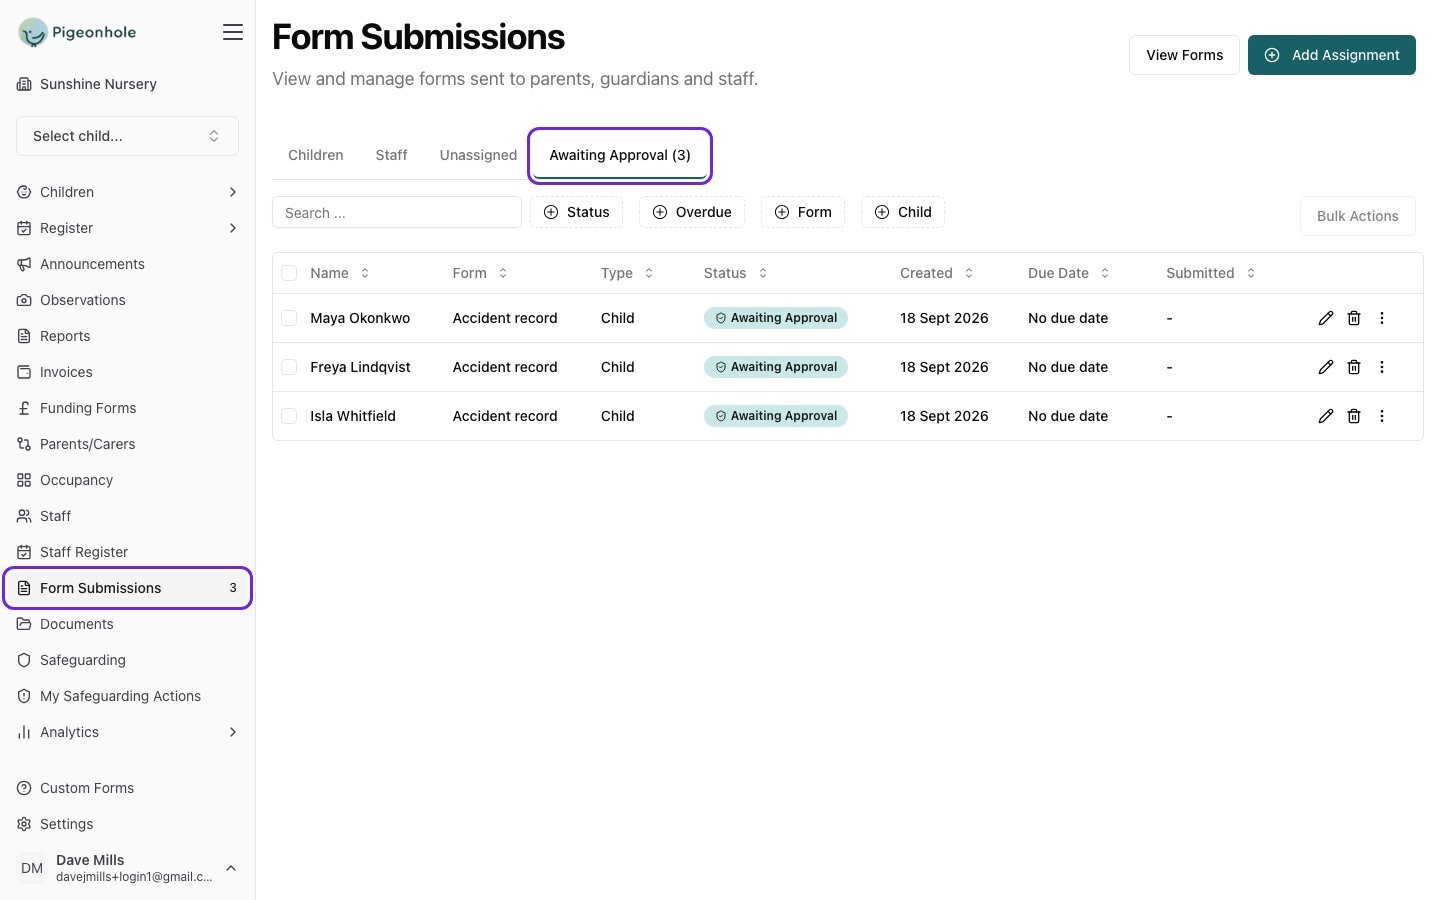
Children, Staff, Unassigned and Awaiting Approval
Submissions are split across four tabs so you only see the ones you’re working on:- Children — forms linked to a child on your system. This is the default tab.
- Staff — forms linked to a staff member.
- Unassigned — completed submissions that aren’t linked to anyone yet. Anonymous applications and public form submissions land here until you assign them or use them to create a child.
- Awaiting Approval — forms raised by staff that need a manager to approve them before they’re sent to parents. The tab shows how many are waiting. See Approving Forms.
Understanding Form Status
In addition, any Overdue items have a red status. You can also filter by ‘Overdue’ items in the table filters.
Form Submission Actions
Sending Forms to Parents
Individual Forms:- Find the form with “Created” status in the form submissions list
- Click Send Form under the More Actions (…) icon
- Confirm sending in the dialog
- Parents will receive an email with a secure link. They can also log in to Pigeonhole and see all their forms for submission, and submit them directly from the app.
- Select multiple forms using checkboxes
- Click “Send/Remind” bulk action
- Confirm the action
- All selected forms will be sent. If they have already been sent a reminder will be sent
Sending Reminders
For forms with “Sent” status:- Click Send Reminder under the More Actions (…) icon (you can also resend the form if the recipient hasn’t received it)
- Or use bulk actions for multiple reminders
- Parents receive a reminder email with the same secure link
How Automatic Reminders Work
Timing:- Reminders are sent 2 days before the due date
- Overdue notifications are sent after the due date has elapsed
Viewing and Editing Completed Forms
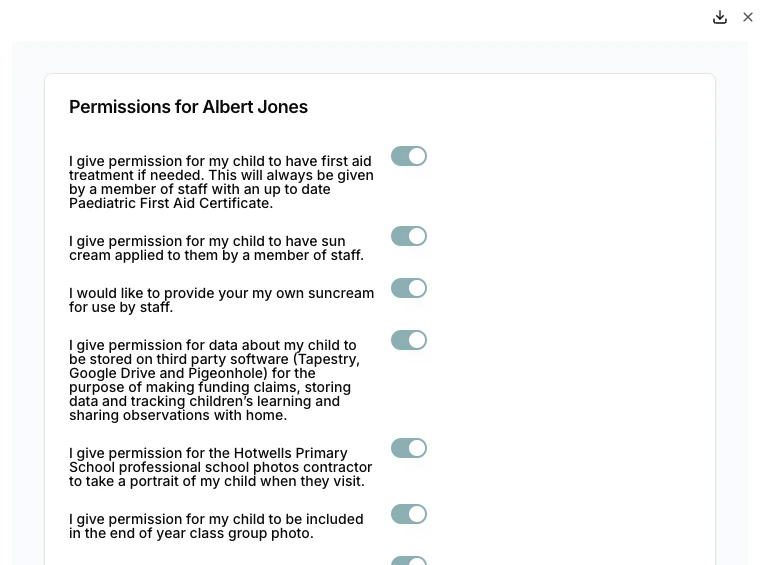
Viewing Completed Forms
- Click the Eye icon for completed forms
- View all submitted data in a formatted layout
- See who submitted the form and when
- Download the completed form for offline storage or printing
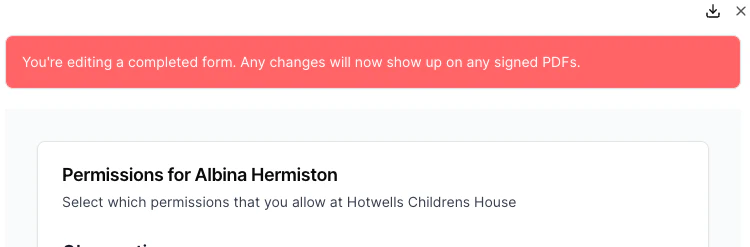
Editing Completed Forms
- Click Edit under the More Actions (…) icon
- Edit any fields as required
- Click Submit Form to save any changes
Filtering and Searching
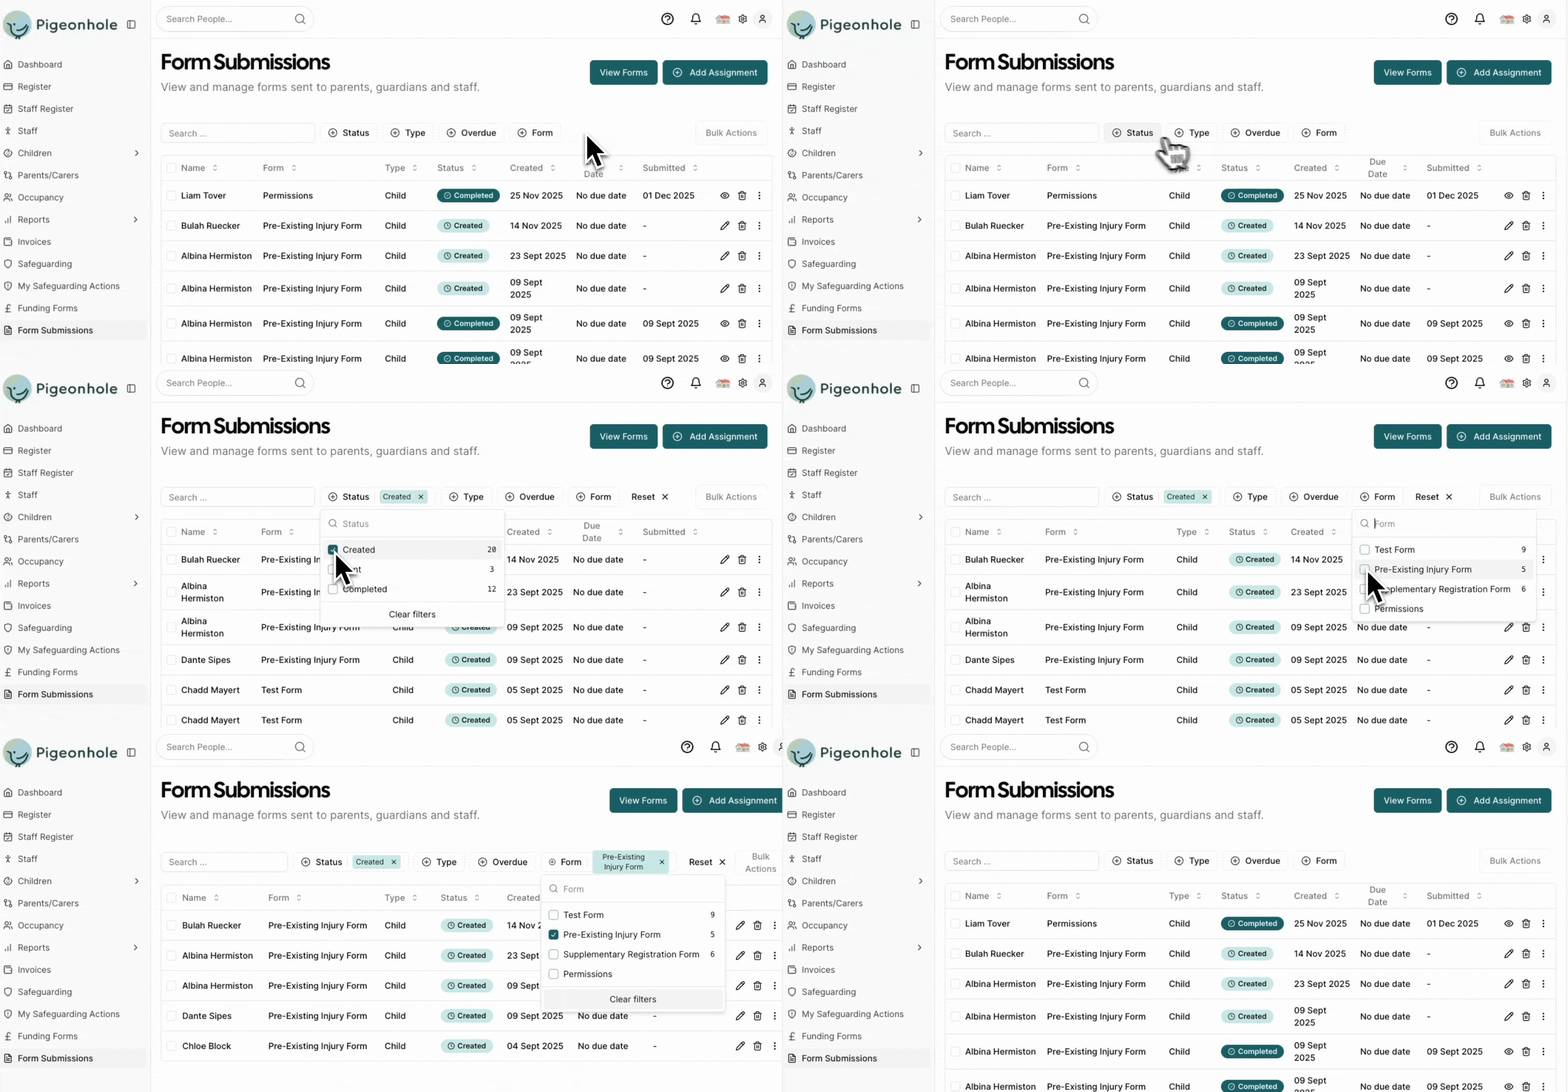
Use the filtering options to find specific forms: Available Filters:- Status: Created, Awaiting Approval, Sent, Completed, Awaiting Signoff
- Type: Child or Staff Forms
- Form: Filter by specific form names
- Overdue: Show only overdue submissions
Public and Anonymous Form Submissions
Submissions from public forms and anonymous email assignments appear in the submissions list alongside regular child and staff form submissions.- Name display: The submitter’s name is shown in the Name column (from the name they entered when submitting)
- Email display: The submitter’s email address is shown in smaller text underneath their name
- Unassigned indicator: A wrench icon indicates the form is not yet linked to a child or staff member
- Assigning to a record: You can link a completed anonymous submission to an existing child or staff member via the More Actions (…) menu — see Assigning Completed Anonymous Forms
Manual Form Upload Process
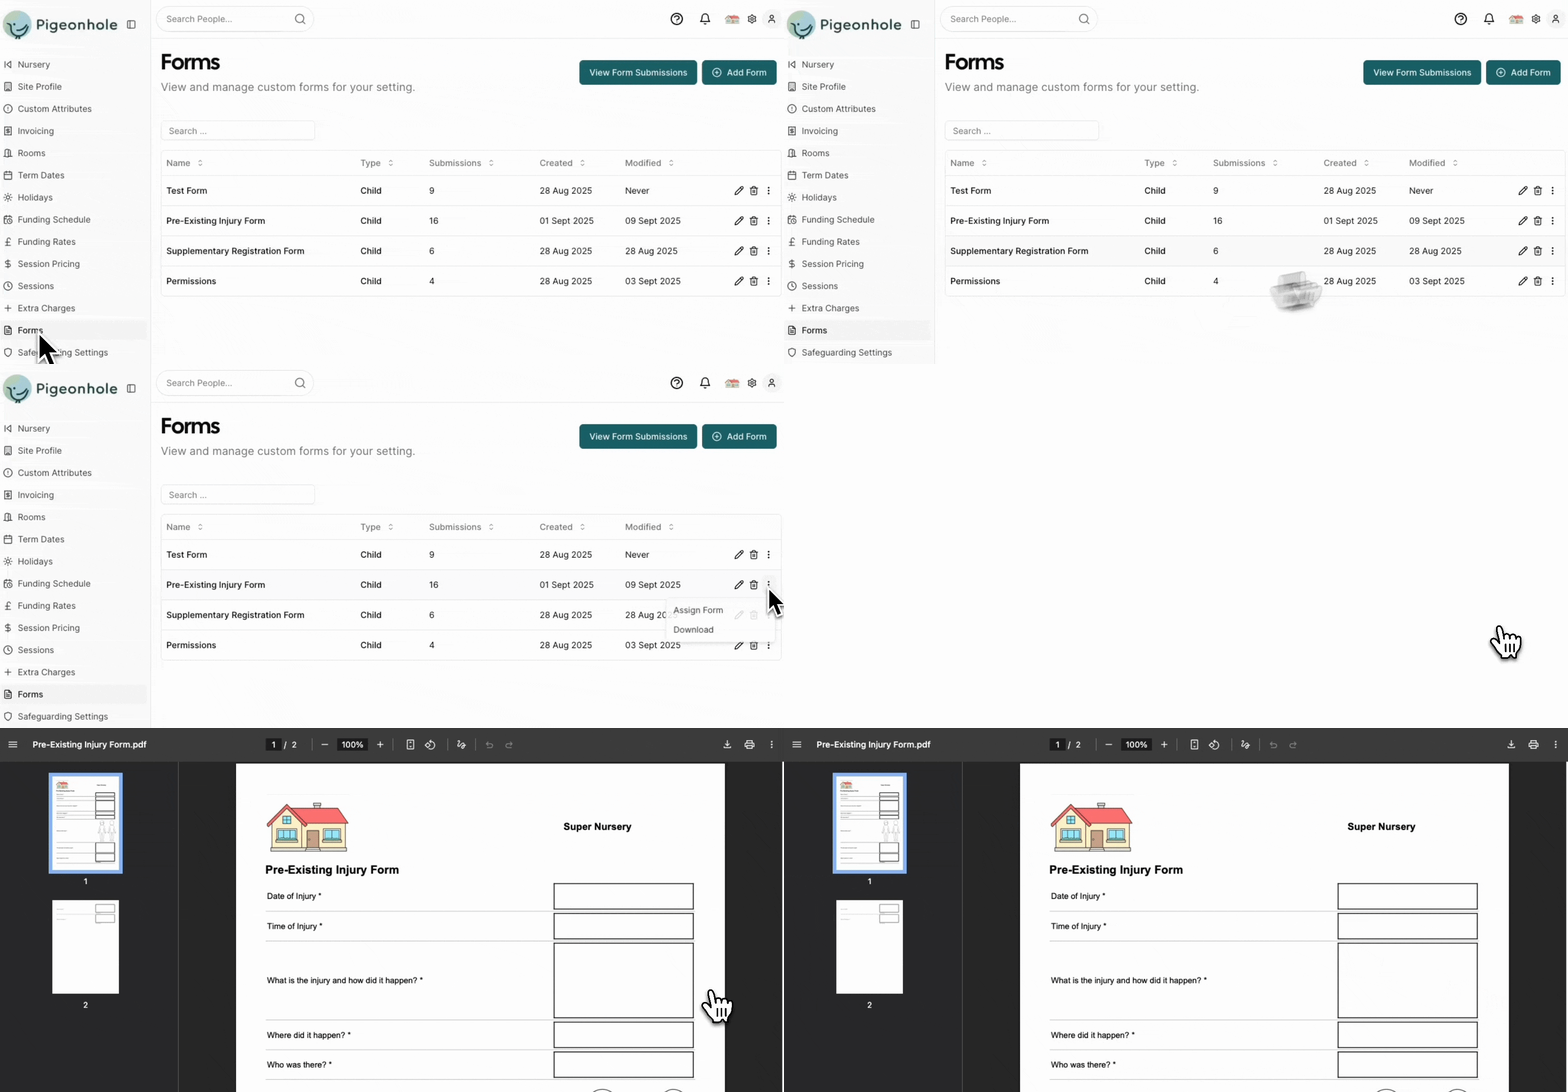
Sometimes parents/staff may complete forms offline (printed copies) or you may need to manually enter form data. The system supports manual form handling.Downloading Blank Forms
- Go to Settings -> Forms
- Find your form in the list
- Click the More Actions (…) menu -> “Download”
- This downloads a blank PDF version of the form
- Print and distribute to parents as needed
Manual Form Entry Process
When you have a completed paper form or need to enter data manually:Step 1: Access Manual Entry
- Go to Form Submissions
- Find the form assignment
Step 2: Complete the Entry
- Enter Form Data: Optionally fill in all the form fields based on the paper form. This will make the data available for export and use in the AI assistant.
-
Either Upload PDF:
- Scan or photograph the completed paper form
- Use the “Upload PDF” button to attach the file
- This creates a permanent record of the original submission
- Fill in the details as necessary. Without uploading a form, all fields will be required.
- Save: Click “Update Form” to save all changes