Forms can also be created from the web register — see Creating Forms from the Register for the web-based workflow.
Accessing Forms from the Register
Prerequisites
- Your nursery administrator must set the form’s Staff access to Create and send to parents or Create – manager approves before sending. See Staff access.
Opening the Forms Interface

- Navigate to the Register tab in the mobile app
- Locate the child you need to create a form for
- Look for the document icon (forms button) next to their attendance controls
- Tap the forms button to open the form selection screen
The forms button only appears if at least one form lets staff create it. If you don’t see this button, contact your administrator.
Creating a Form for a Child
Form Selection Screen
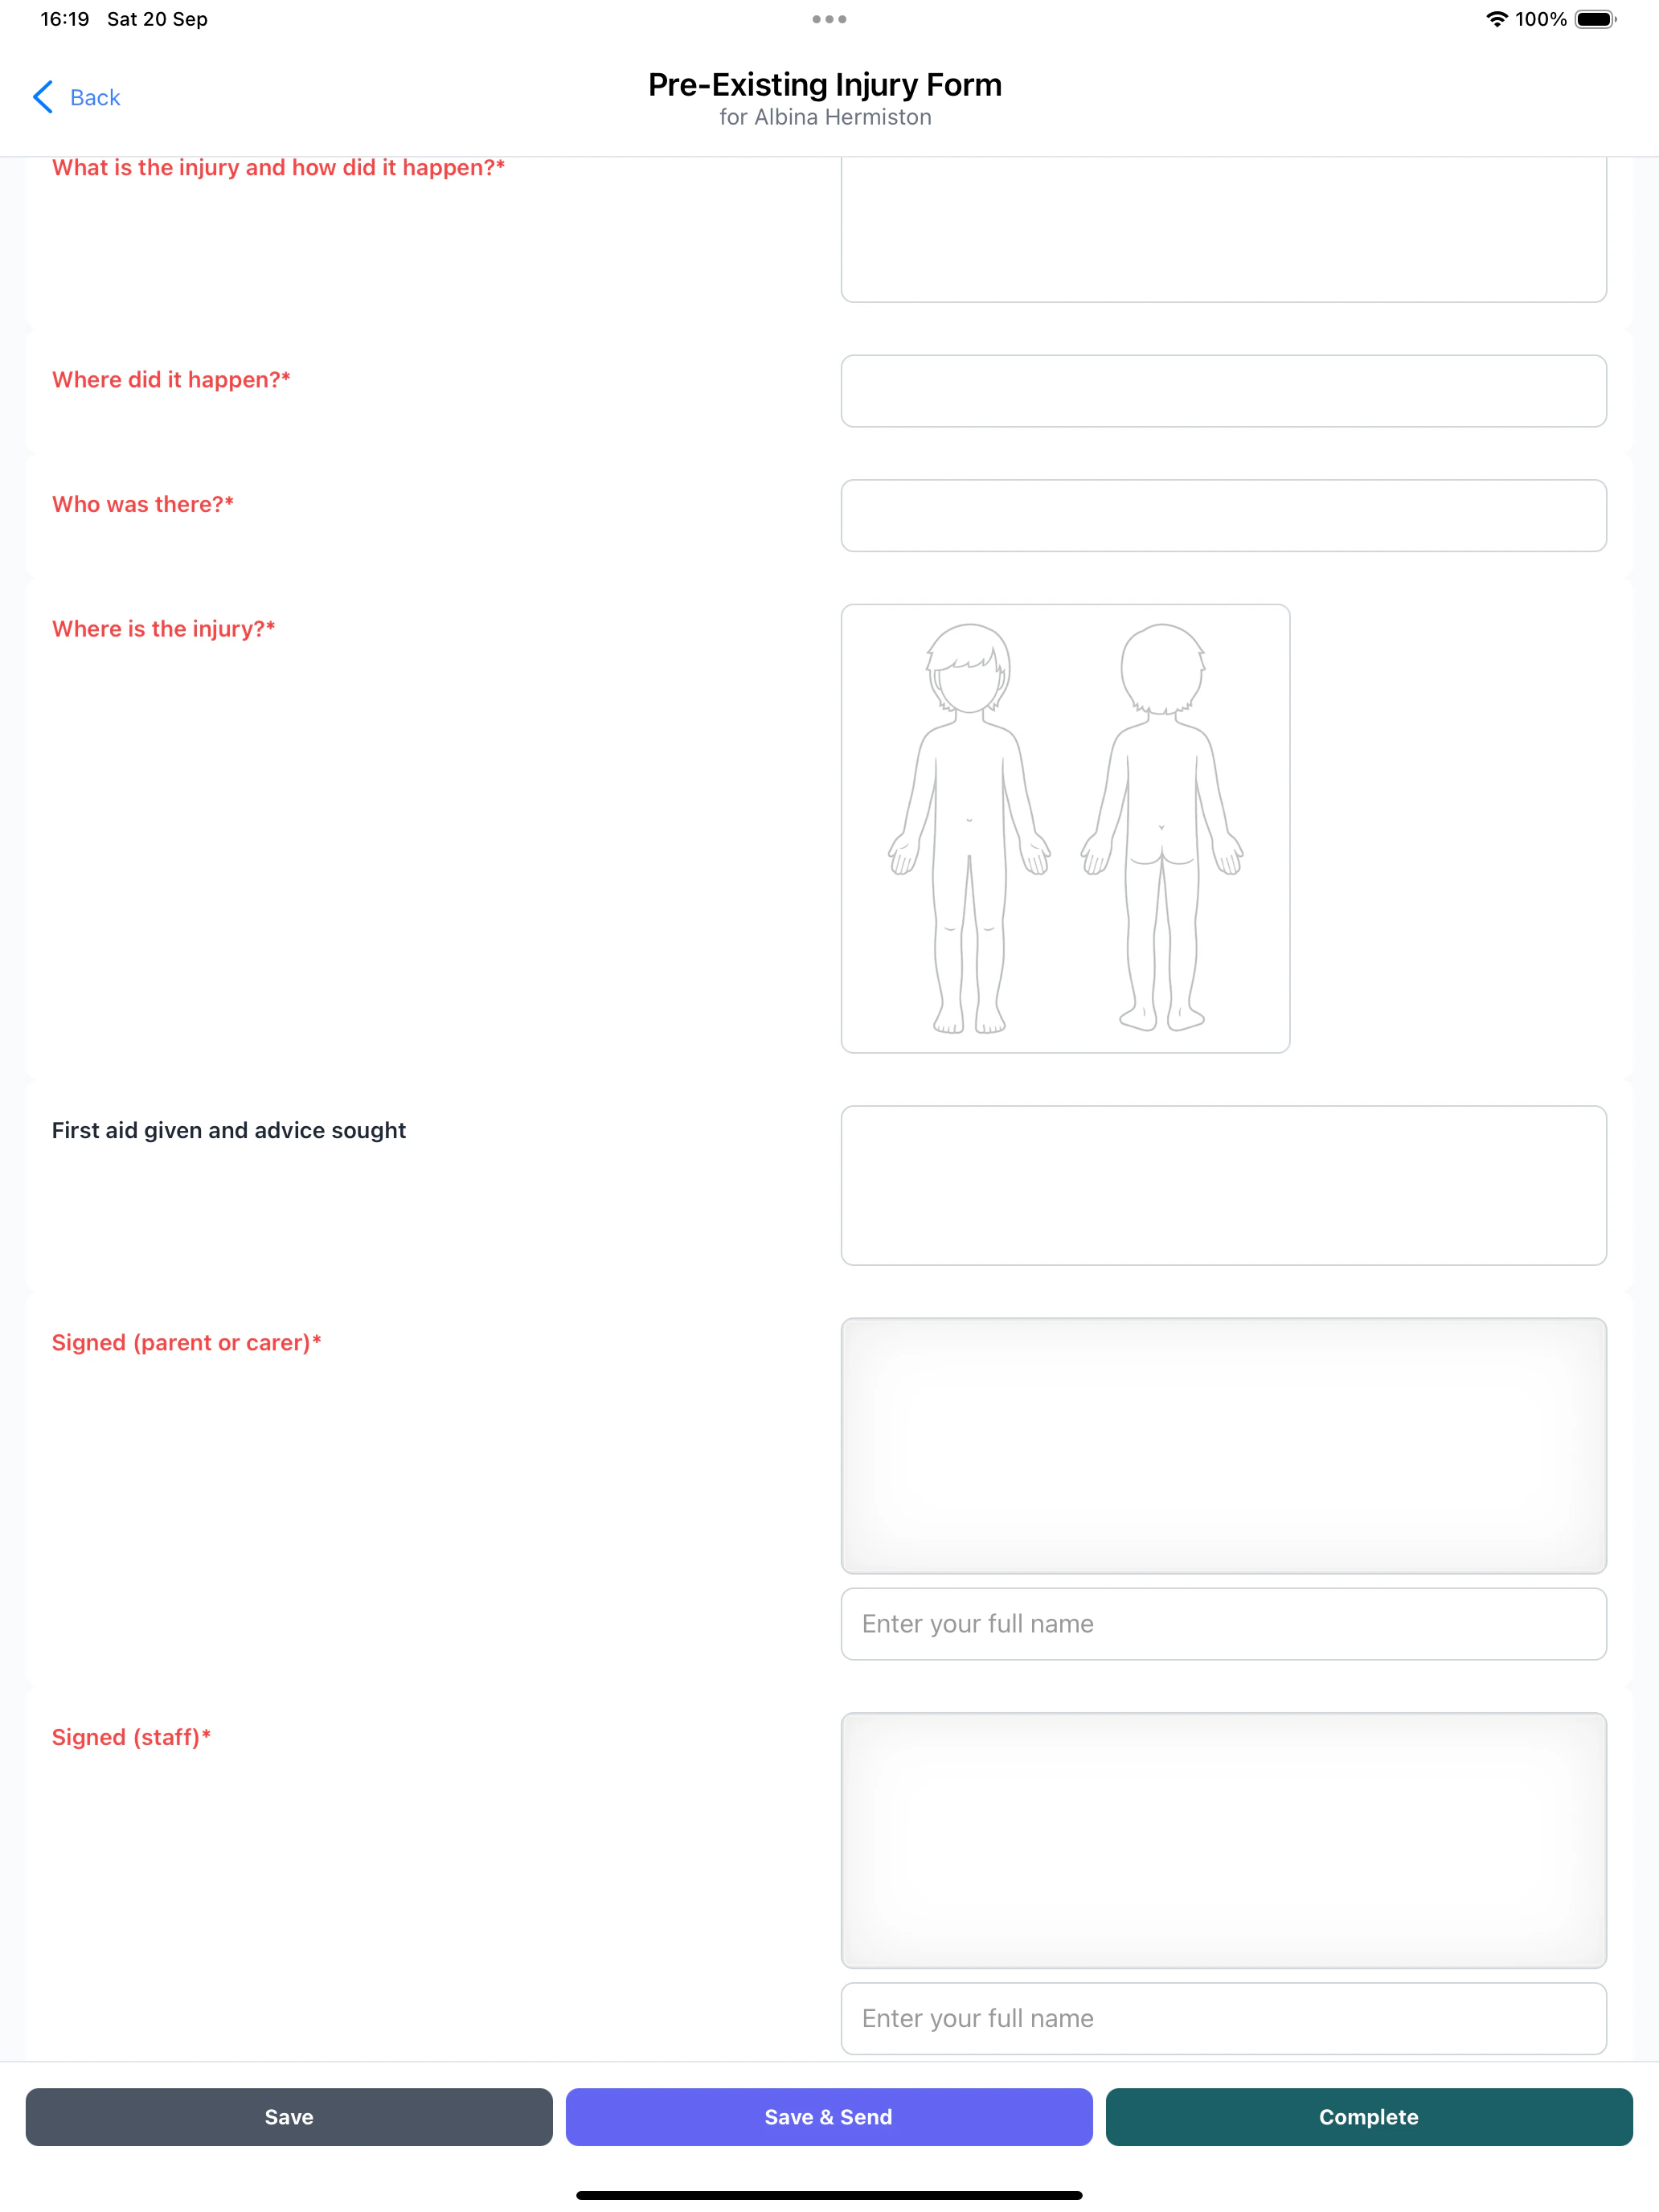
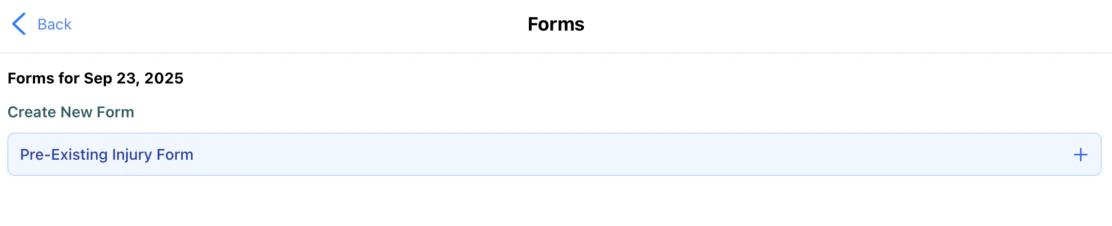
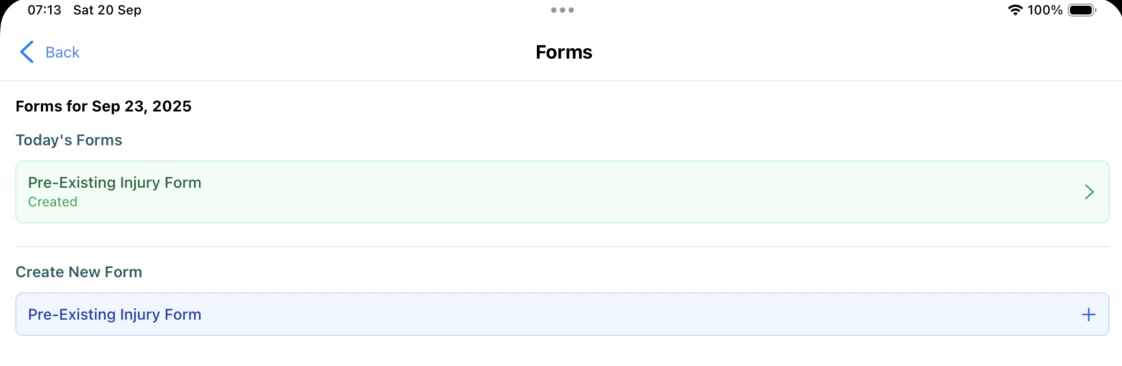
When you tap the forms button, the Form Selection screen opens showing: Today’s Forms Section:- Lists any forms already started for this child on the selected date
- Shows form name and current status (Draft, Completed, etc.)
- Tap to continue editing or reviewing existing forms
- Lists all available form types configured for register use
- Shows form names and descriptions
- Tap to create a new form assignment
Editing and Saving Forms
When you click on a form the form editing dialog appears. Here you can fill in any form details.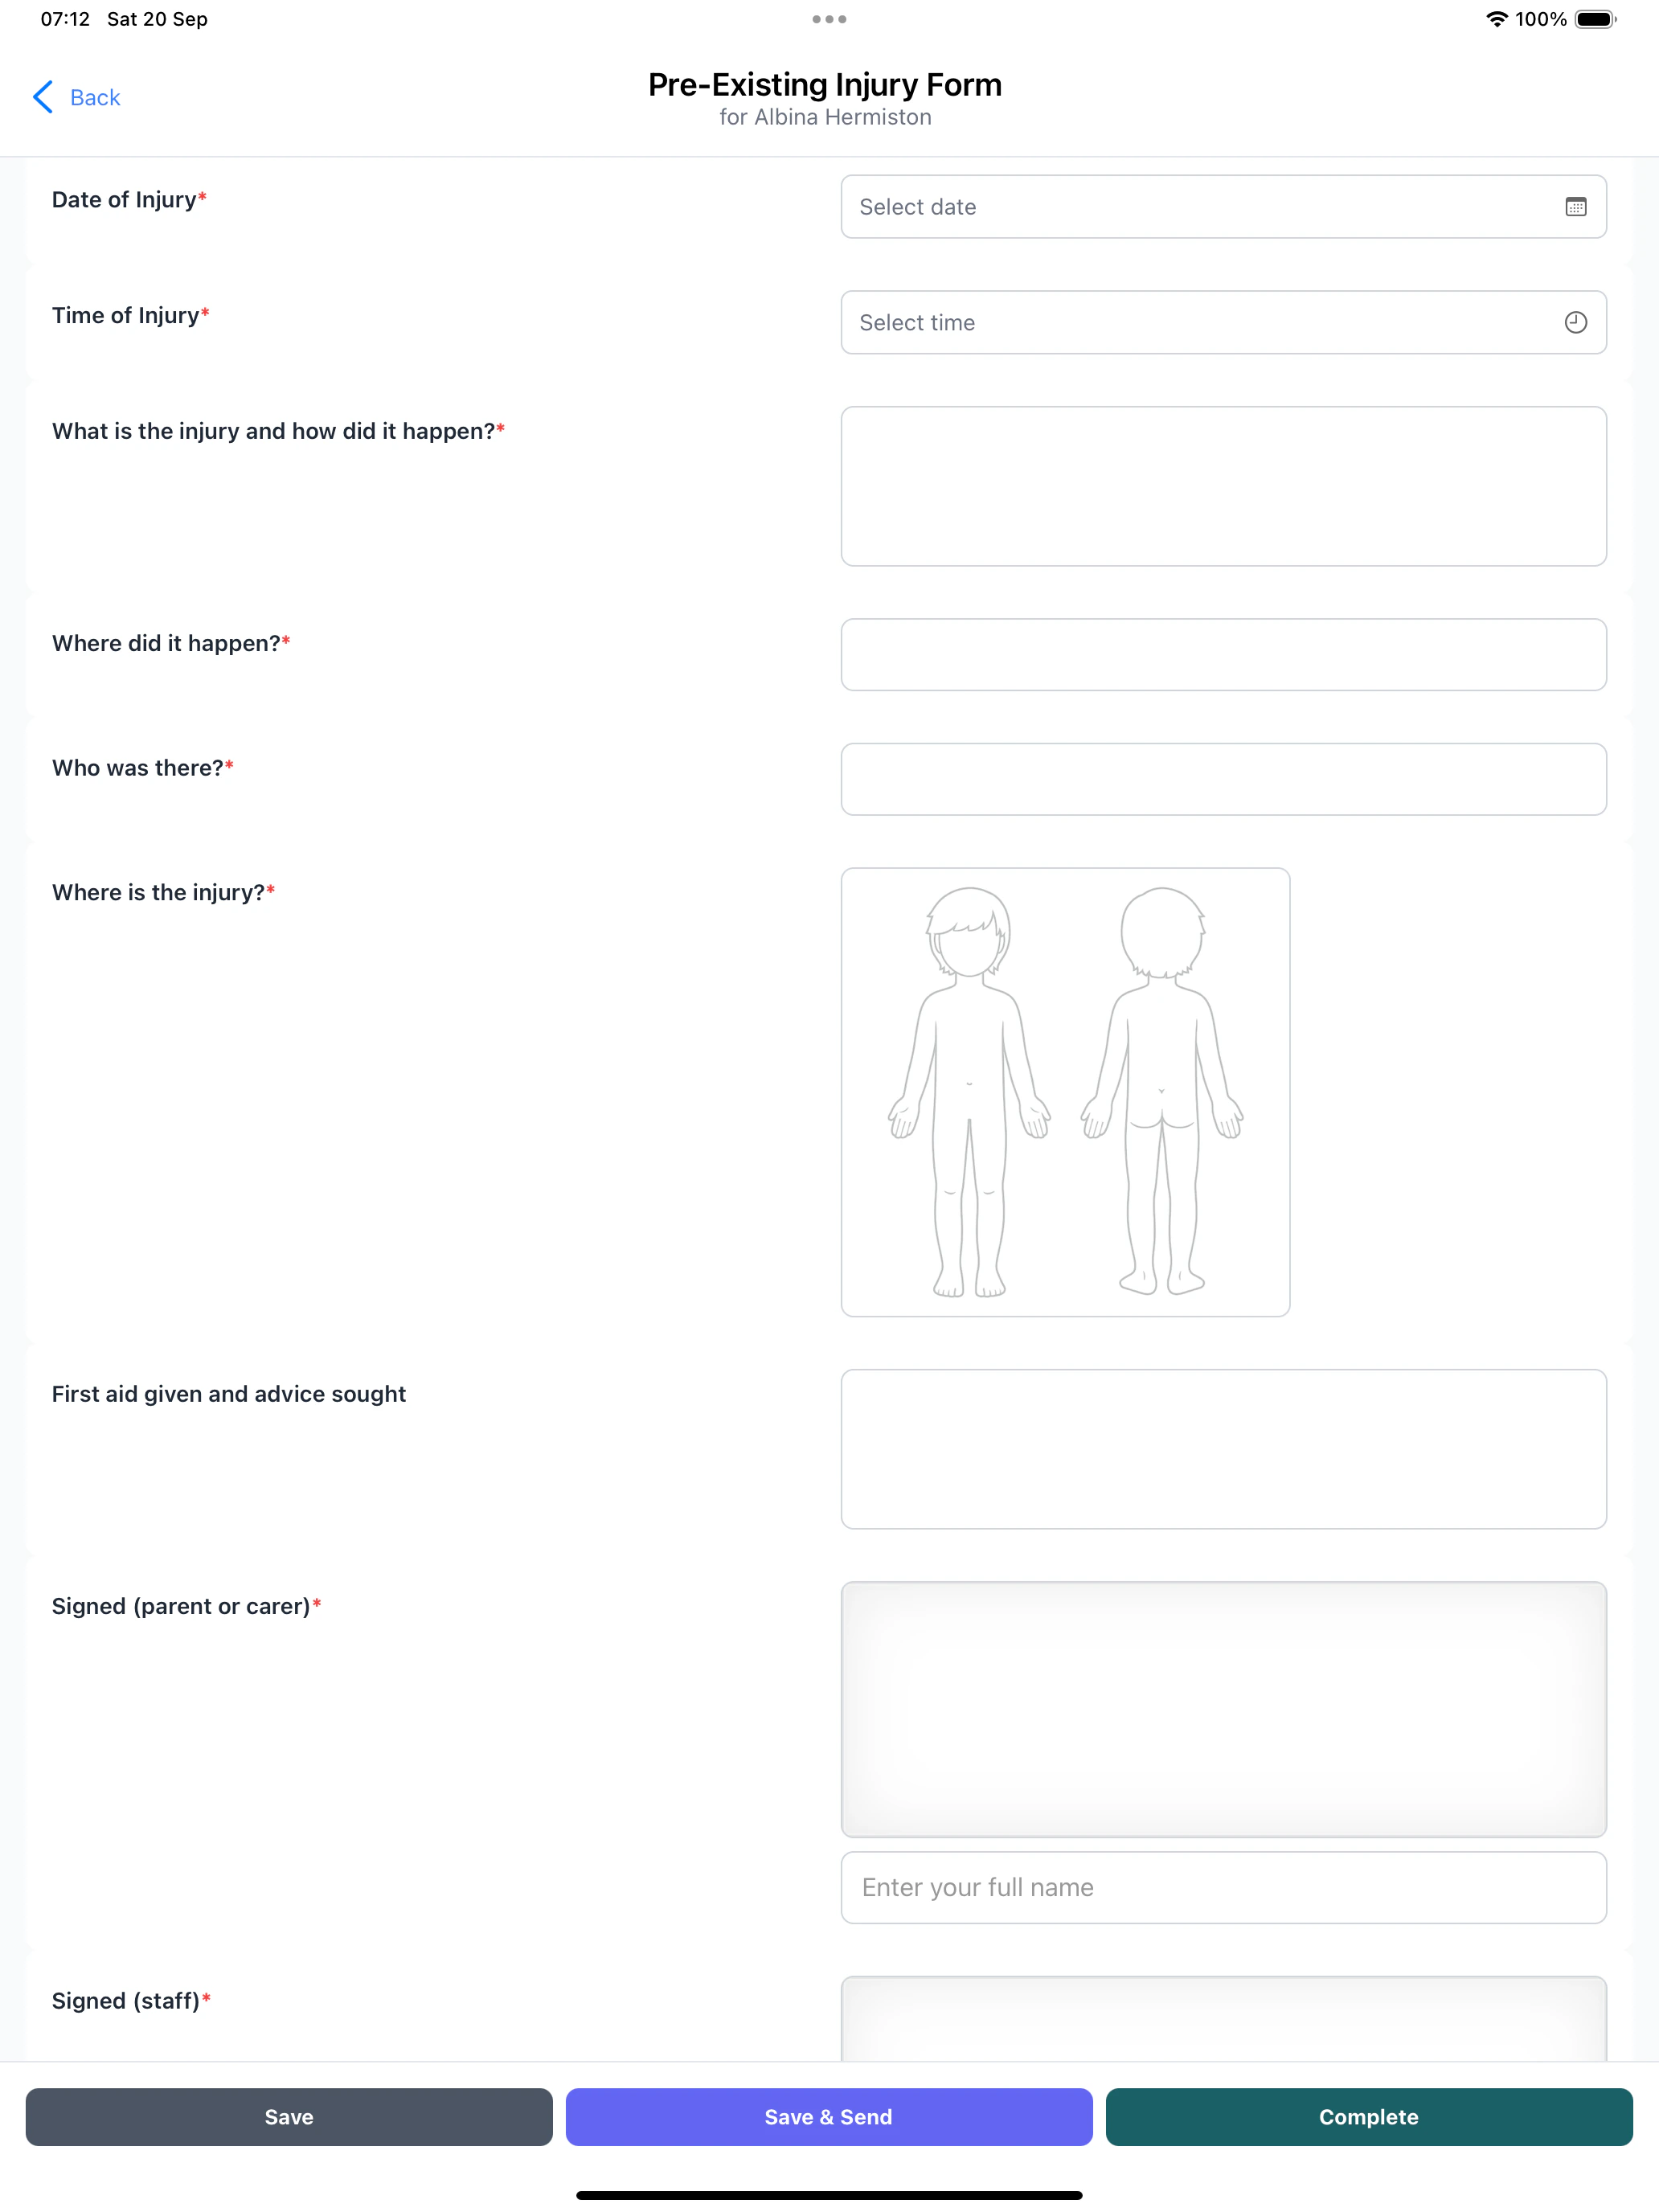
Save
Use the Save button to:- Store current progress without completing the form
- Continue editing later
- Preserve data if you need to leave the form
- Need more information before completing
- Want to discuss with colleagues
- Time constraints prevent immediate completion
- Waiting for additional information
Save & Send
Use Save & Send to:- Save the current form state
- Automatically notify parents/guardians that there is a form available for them to complete
- Tap “Save & Send” button
- Confirm action in popup dialog
- Form saves and notification is sent
- Parents receive notification of new form activity
Save & Send is useful when parents need to provide additional information, for example an accident form that they need to sign.
Save & Submit (forms that need approval)
Some forms, such as accident records, have to be checked by a manager before parents see them. On these forms, Save & Send is replaced by Save & Submit.- Fill in the form. You can leave the manager’s signature blank.
- Tap Save & Submit, then Submit to confirm.
- The form’s status changes to Awaiting Approval, and your managers are emailed.
Tapping Save after filling in every required field submits the form for approval too. If some required fields are still empty, it’s saved as a draft and you can finish it later.
Approve & Send (managers and form approvers)
If you’re a manager or have the Form Approver role, you see Approve & Send on forms that need approval. You’ll also see a forms awaiting approval card on the home screen when any are waiting. Tap it to see the list.
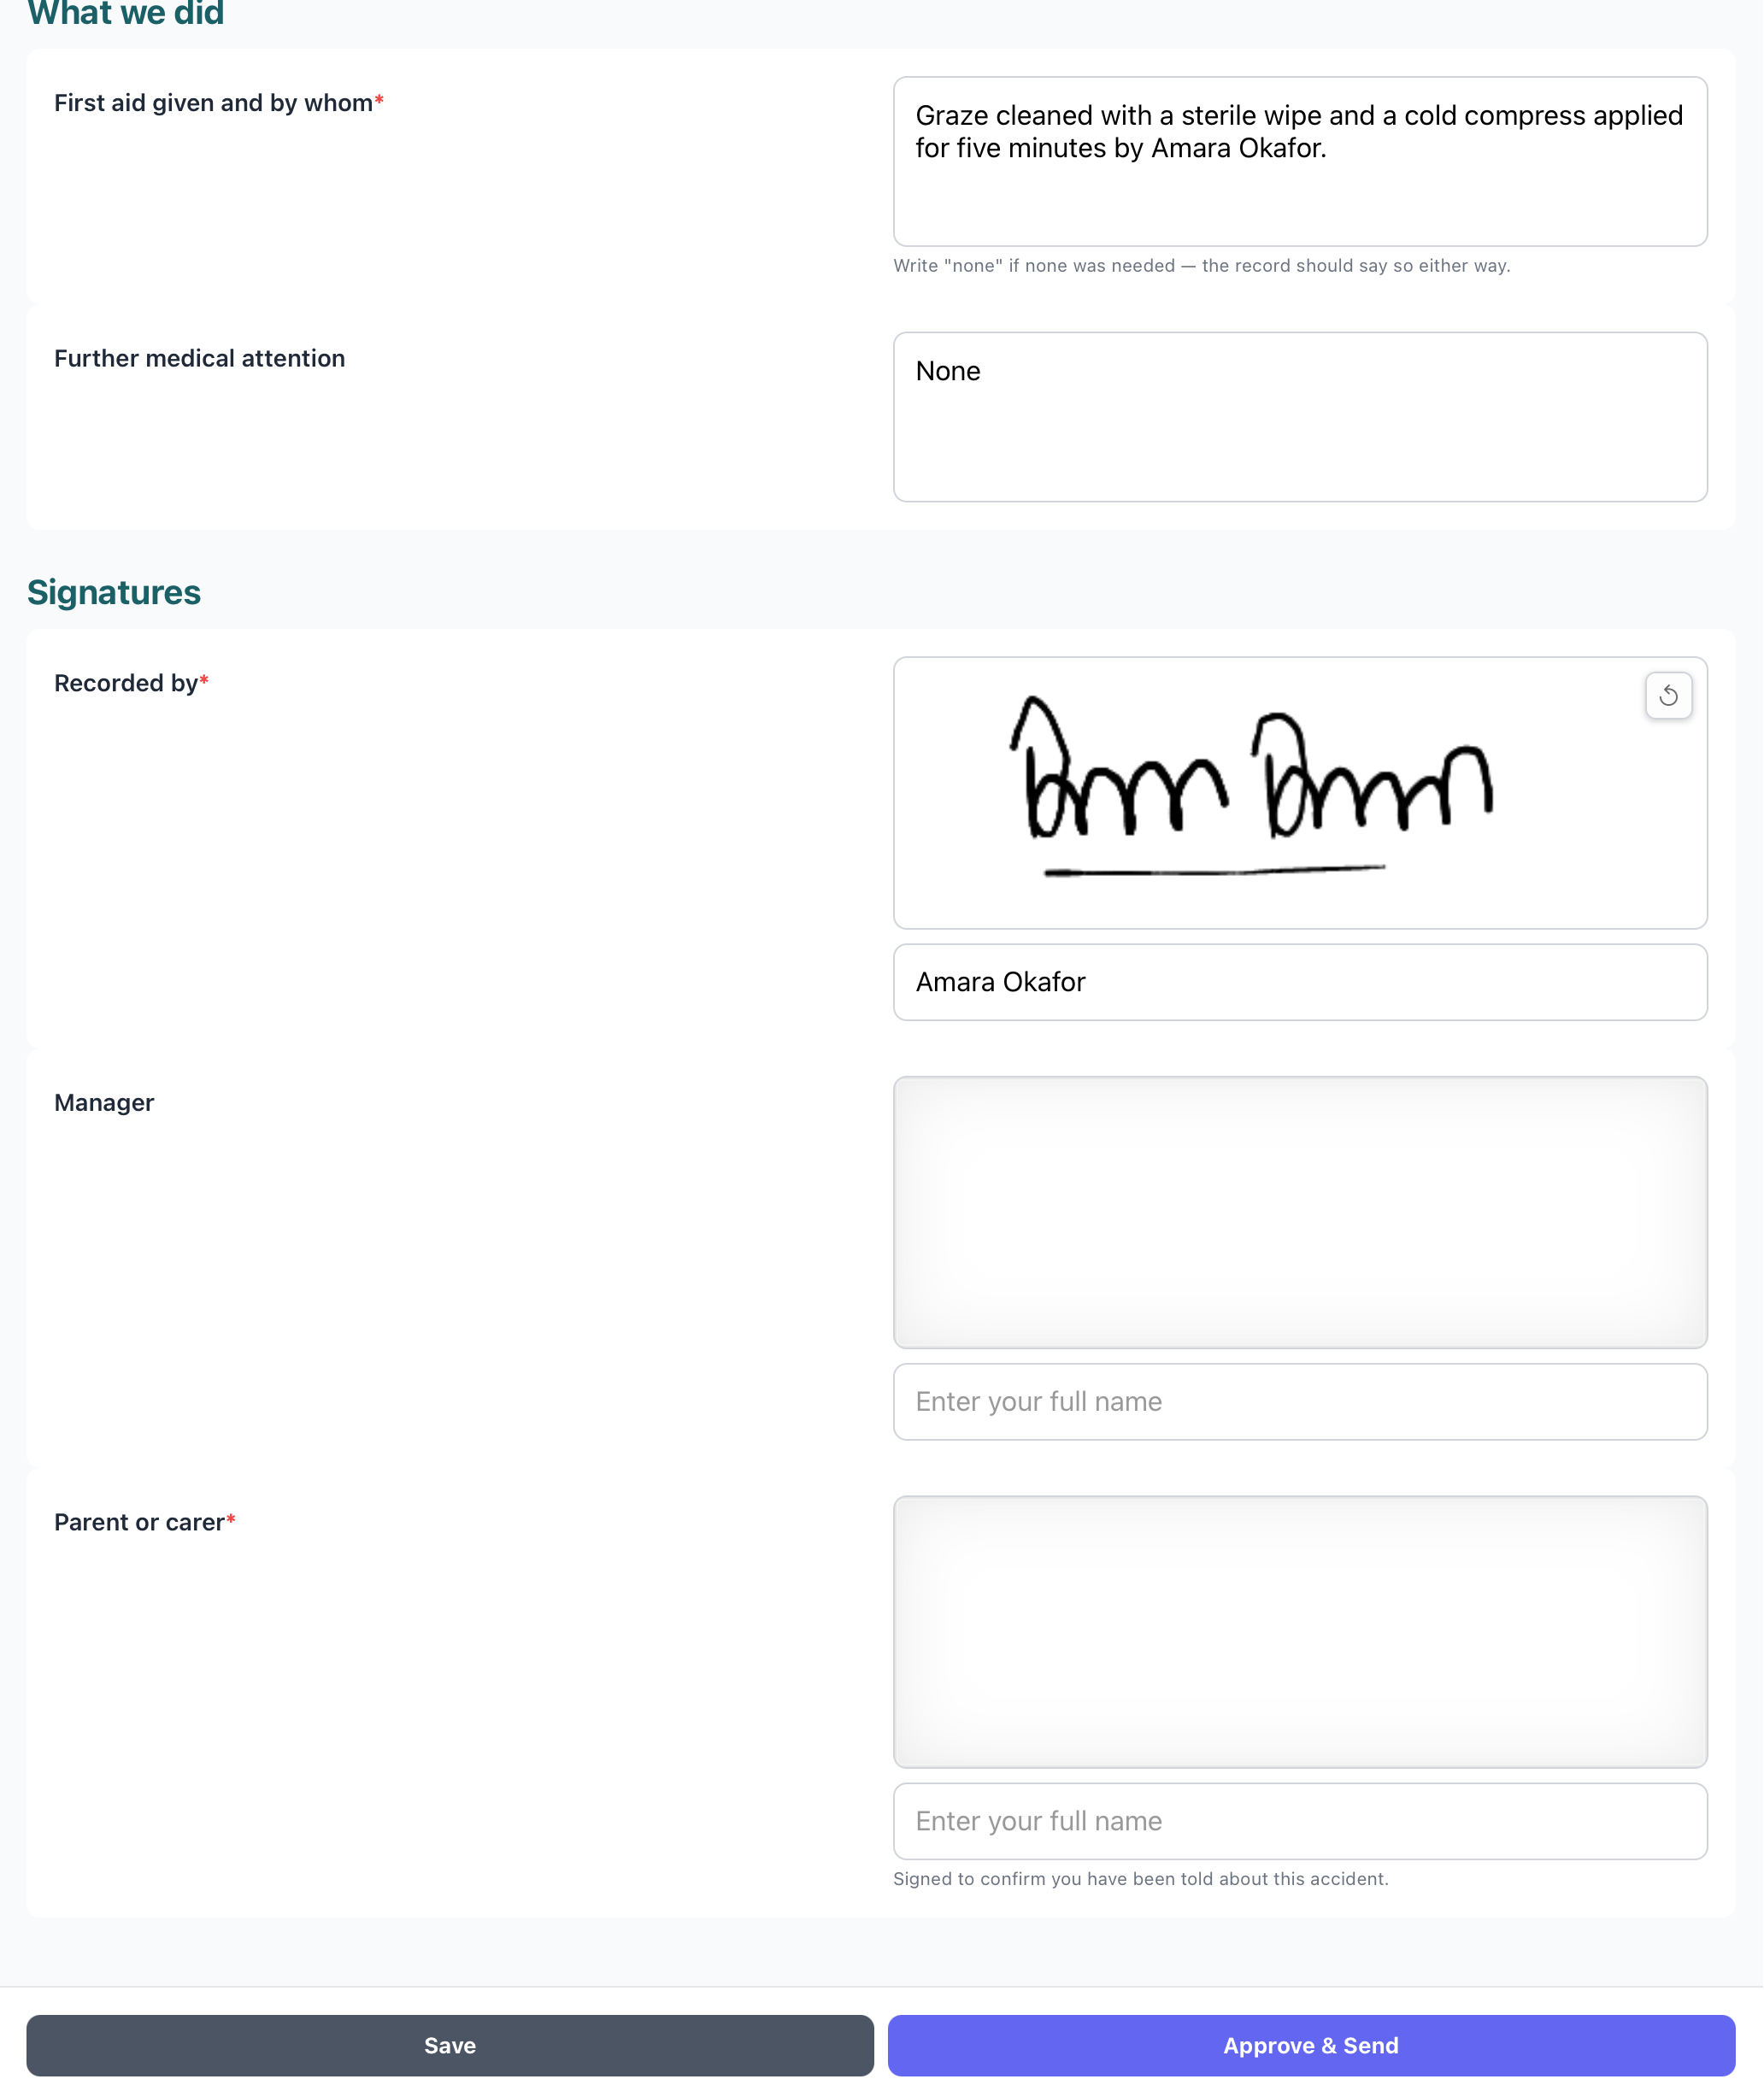
- Open the form and check it. Add your signature if the form asks for one.
- Tap Approve & Send, then confirm.
- Enter your PIN if the app asks for it. This records you as the approver on a shared device.
Required fields
Before a form can be sent or approved:- All required staff fields must be completed
- Signatures must be captured where required