
Open in app: Settings → Custom Attributes.
What Custom Attributes Are For
Custom attributes let you tailor Pigeonhole to your setting. Common examples include dietary requirements, permissions granted by parents, learning goals, medical notes, or transport arrangements. Attributes are organised into groups. A group is a heading that keeps related attributes together on the child profile and register — for example, a “Permissions” group containing several yes/no permission attributes.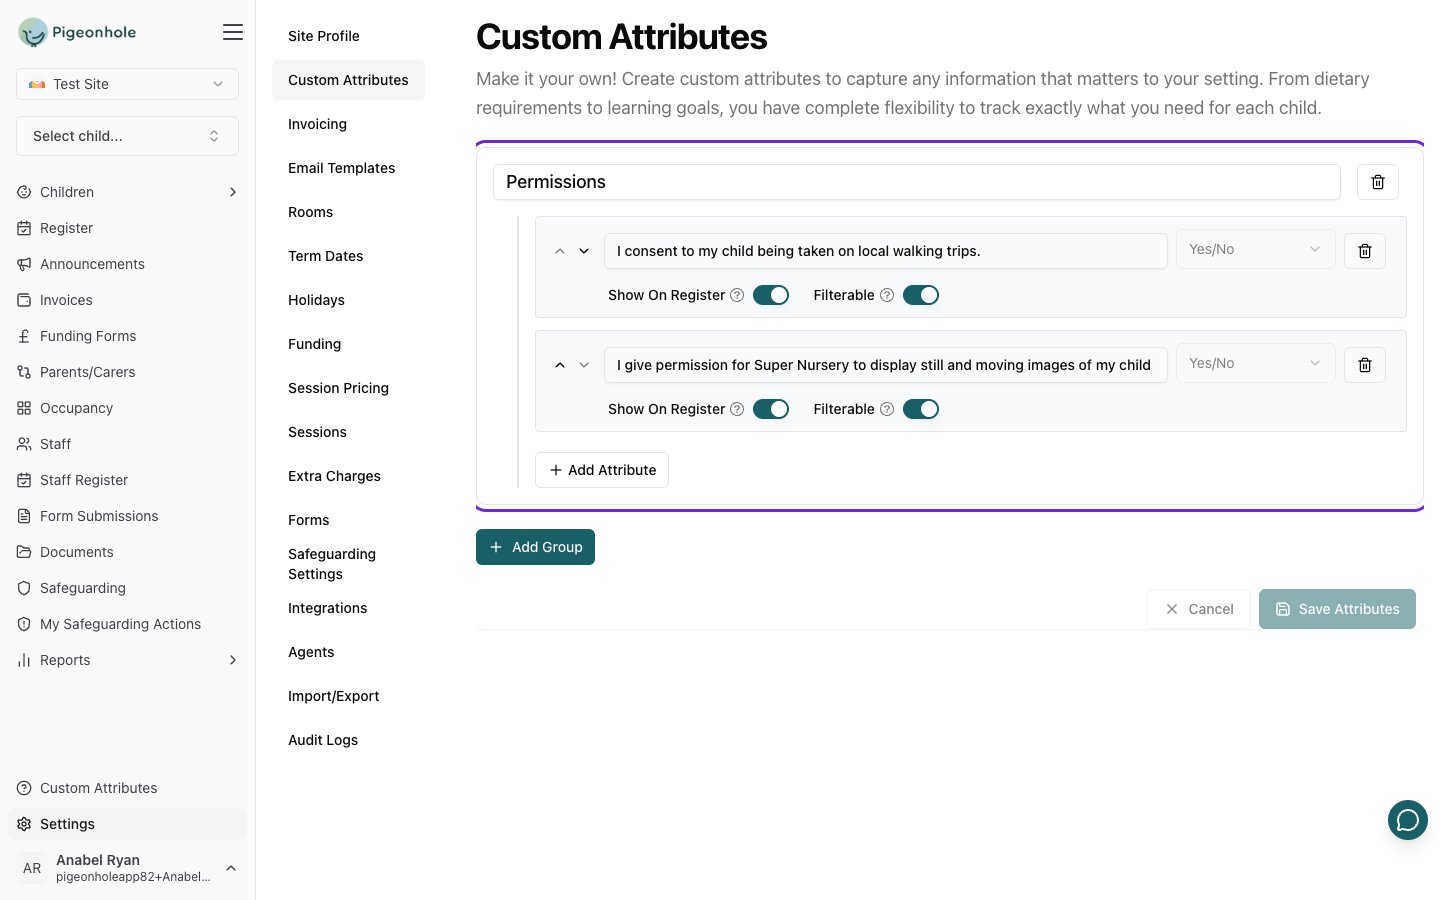
Field Types
Each attribute has a type that controls how staff enter its value:- Free Text - Any text, best for open-ended notes like special instructions.
- Yes/No - A simple on/off value, best for permissions or flags.
- List of Values - A dropdown of options you define, best for consistent choices like dietary requirements (e.g. Vegetarian, Vegan, Gluten-free).
Step 1: Add a Group
- On the Custom Attributes page, click Add Group.
- Enter a name for the group in the group name field (e.g. “Permissions”).
Step 2: Add Attributes to the Group
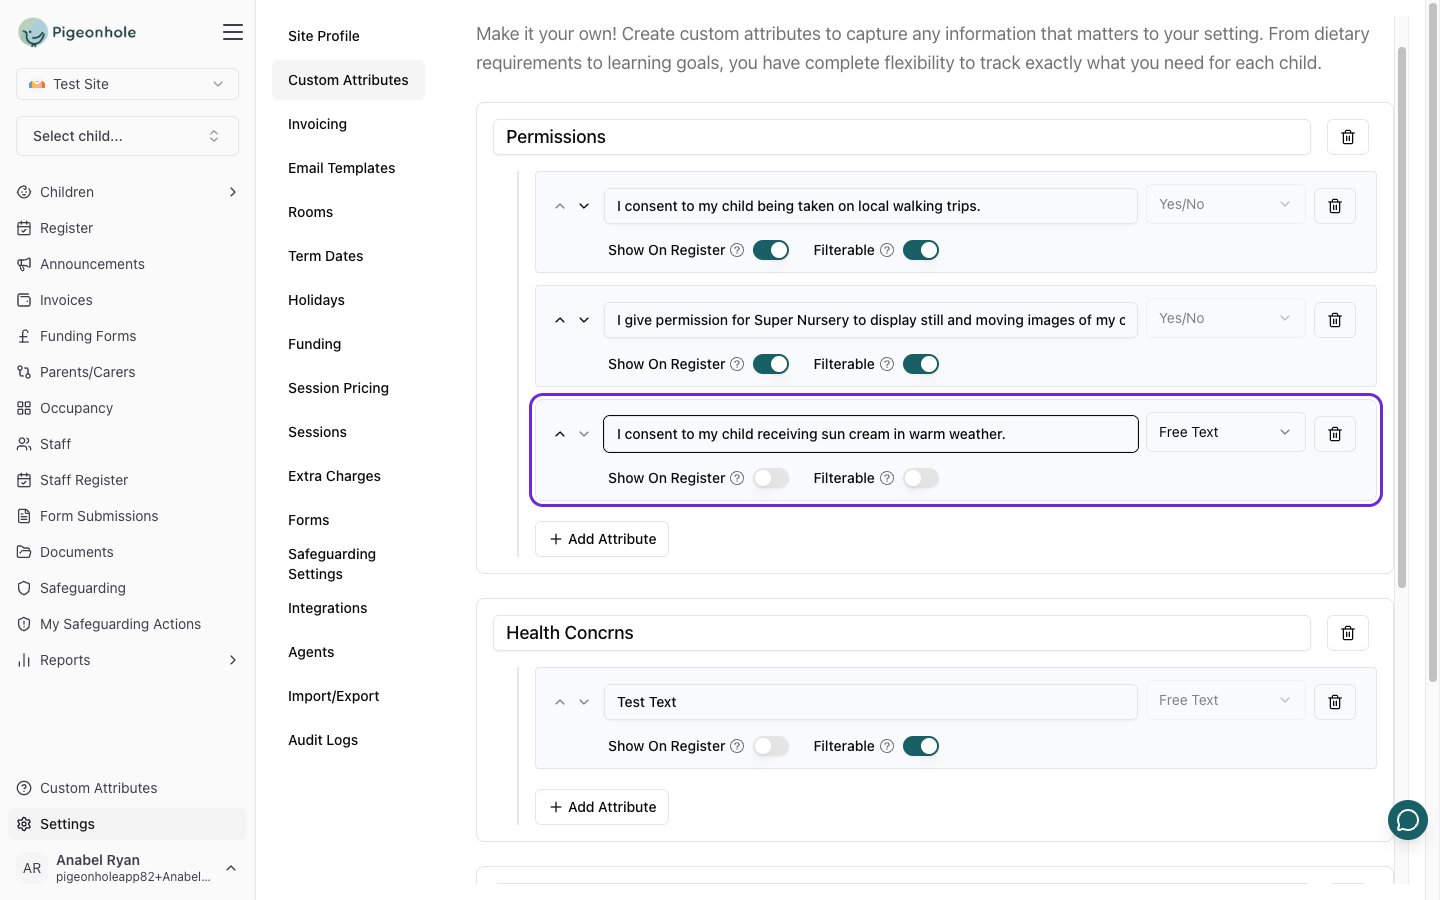
- Inside the group, click Add Attribute.
- Enter a descriptive name for the attribute (e.g. “Dietary Requirements”).
- Choose the type: Free Text, Yes/No, or List of Values.
- If you chose List of Values, add each option in the List Items section. Use the + button to add more options; you need at least two.
- Set the toggles for the attribute:
- Show On Register - Displays this attribute when staff open a child from the register.
- Filterable - Lets you filter the children list by this attribute. Available for Yes/No and List of Values types only.
Step 3: Save
Click Save Attributes to store your changes. Your attributes are now live.What Happens Next
- Your attributes appear on every child’s profile, where admins can fill in values from the child edit page.
- Attributes marked Filterable appear as filters on the children list view.
- Attributes marked Show On Register appear when staff open a child from the register.
For a full guide to entering values on children and filtering by them, see Creating and Using Custom Attributes.