
Open in app: Settings → Funding Schedule.
When to Use a Funding Exclusion Schedule
Use a schedule when a child’s funded hours should pause for certain periods, but their place still runs and should be charged privately. For example, you might exclude funding for a run of dates when a child’s funding is not available, so those days fall back to private charging.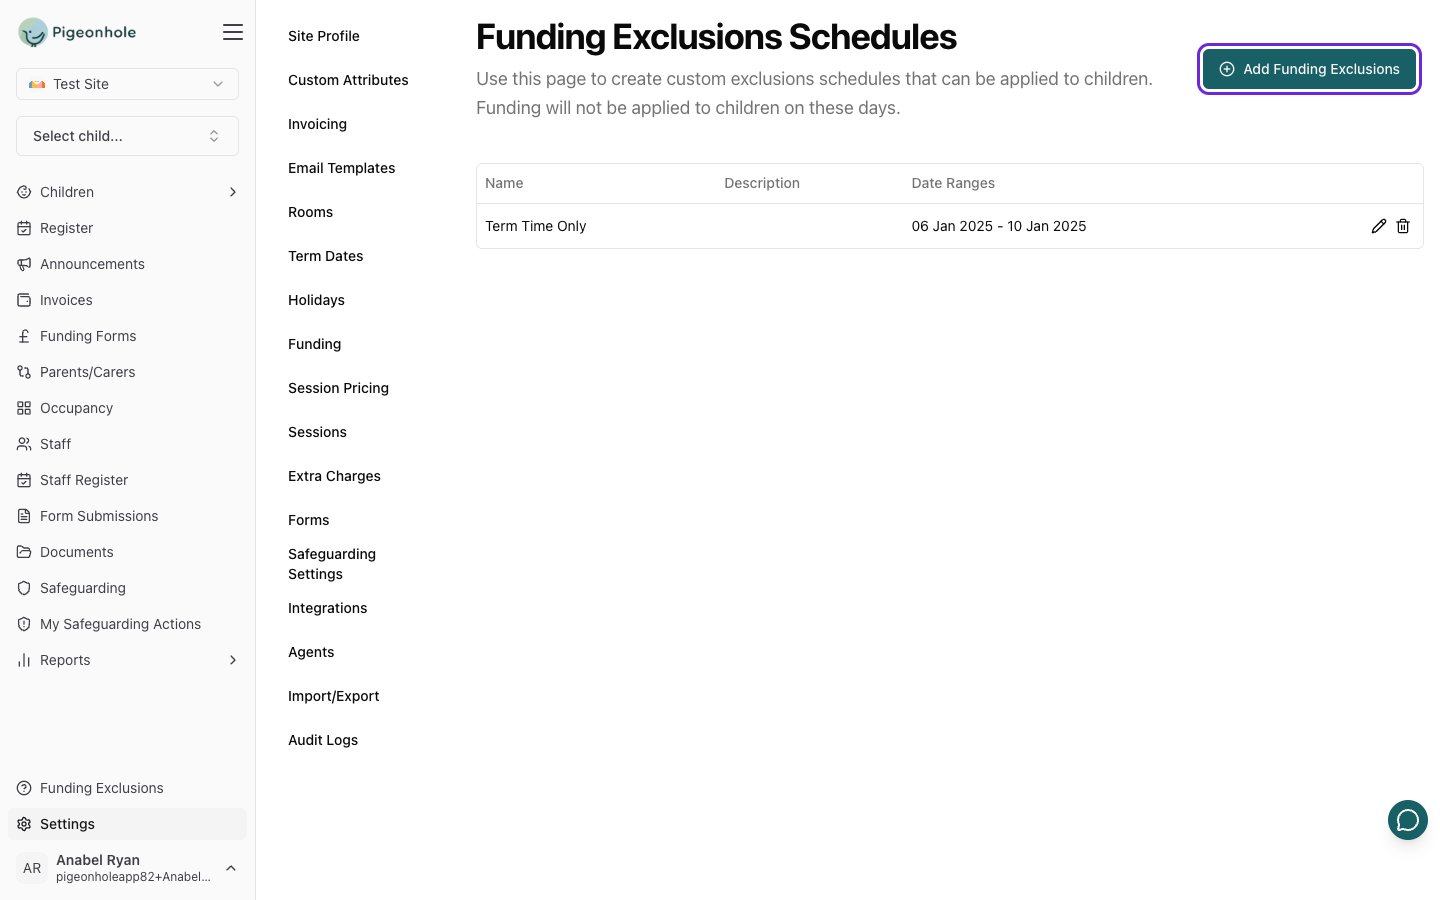
Step 1: Add a Schedule
- On the Funding Exclusions Schedules page, click Add Funding Exclusions.
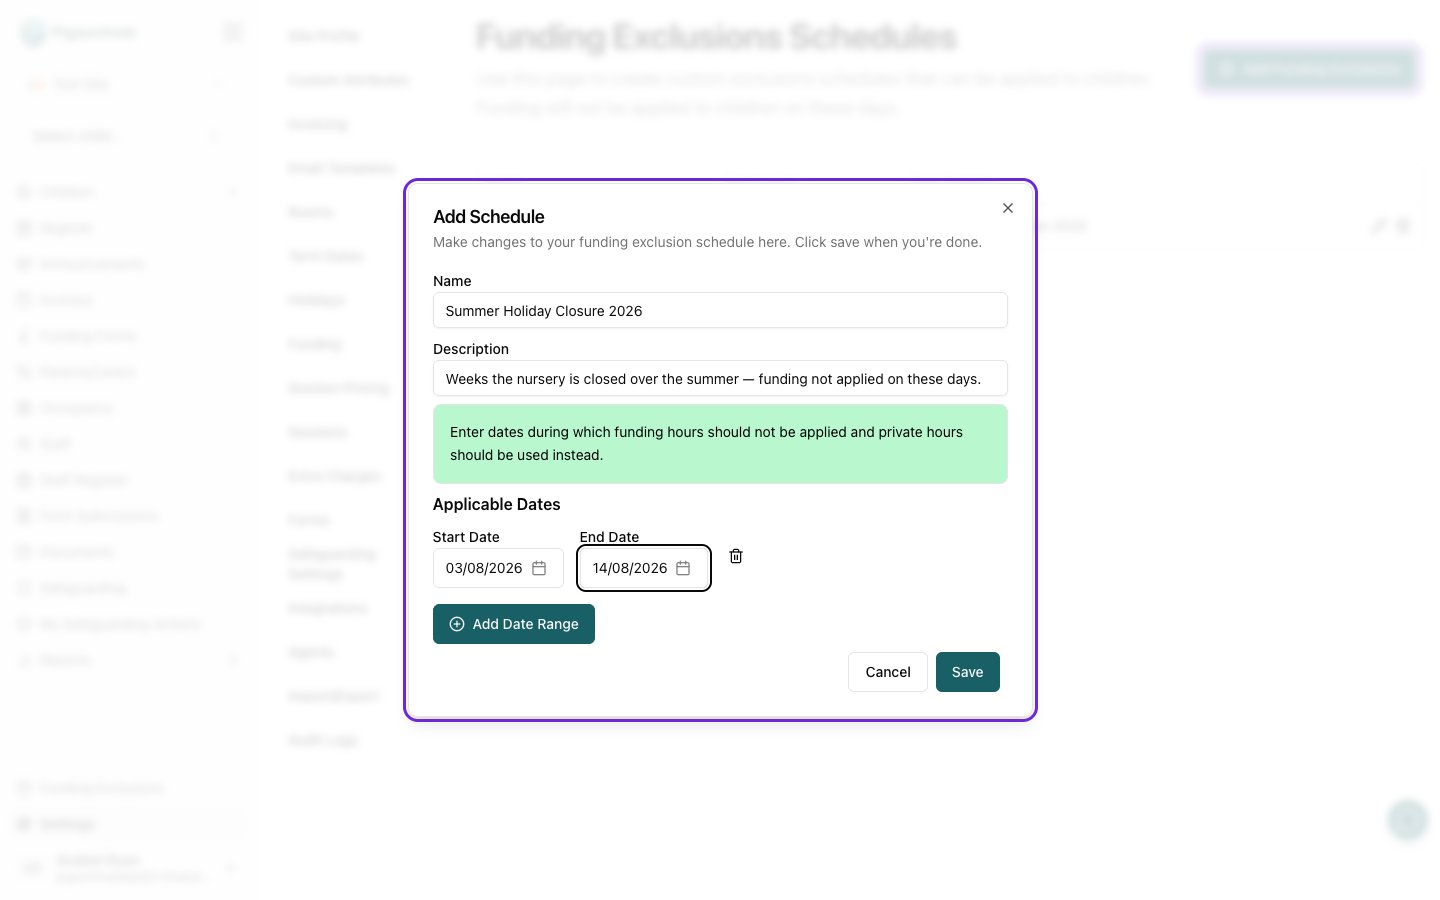
- Enter a Name for the schedule so you can recognise it later (e.g. “Summer break exclusions”).
- Optionally enter a Description with any extra detail.
Step 2: Add the Excluded Date Ranges
- Click Add Date Range.
- Choose a Start Date and an End Date for the period funding should not be applied.
- Repeat to add as many date ranges as the schedule needs. Remove a range using the delete icon next to it.
During the dates you add here, funded hours are not applied and the child’s private hours are charged instead.
Step 3: Save
Click Save. The schedule appears in the list on the settings page.Editing and Deleting Schedules
- To change a schedule, click its edit action in the list, adjust the name, description, or date ranges, then click Save.
- To remove a schedule, use its delete action in the list.
Once a schedule exists, you apply it to individual children from their schedule so the exclusion dates take effect for that child.